3D PRINTING REVIEW – FILAMENT FRIDAY BED LEVELER

The Filament Friday Bed Leveler is an ingenious little device designed by Chuck Hellebuyck (From the YouTube Channel Filament Friday) to assist with the bed levelling of any FDM 3D printer by making the process easy and consistent.

The device is available on Amazon with two options: a slightly more expensive pre-assembled device or an unassembled DIY version (which I opted for). However, both versions require some 3D-printed parts to be supplied by the customer.

Assembly of the DIY version is straightforward, with the only tools required being a soldering iron, wire cutters and pliers.

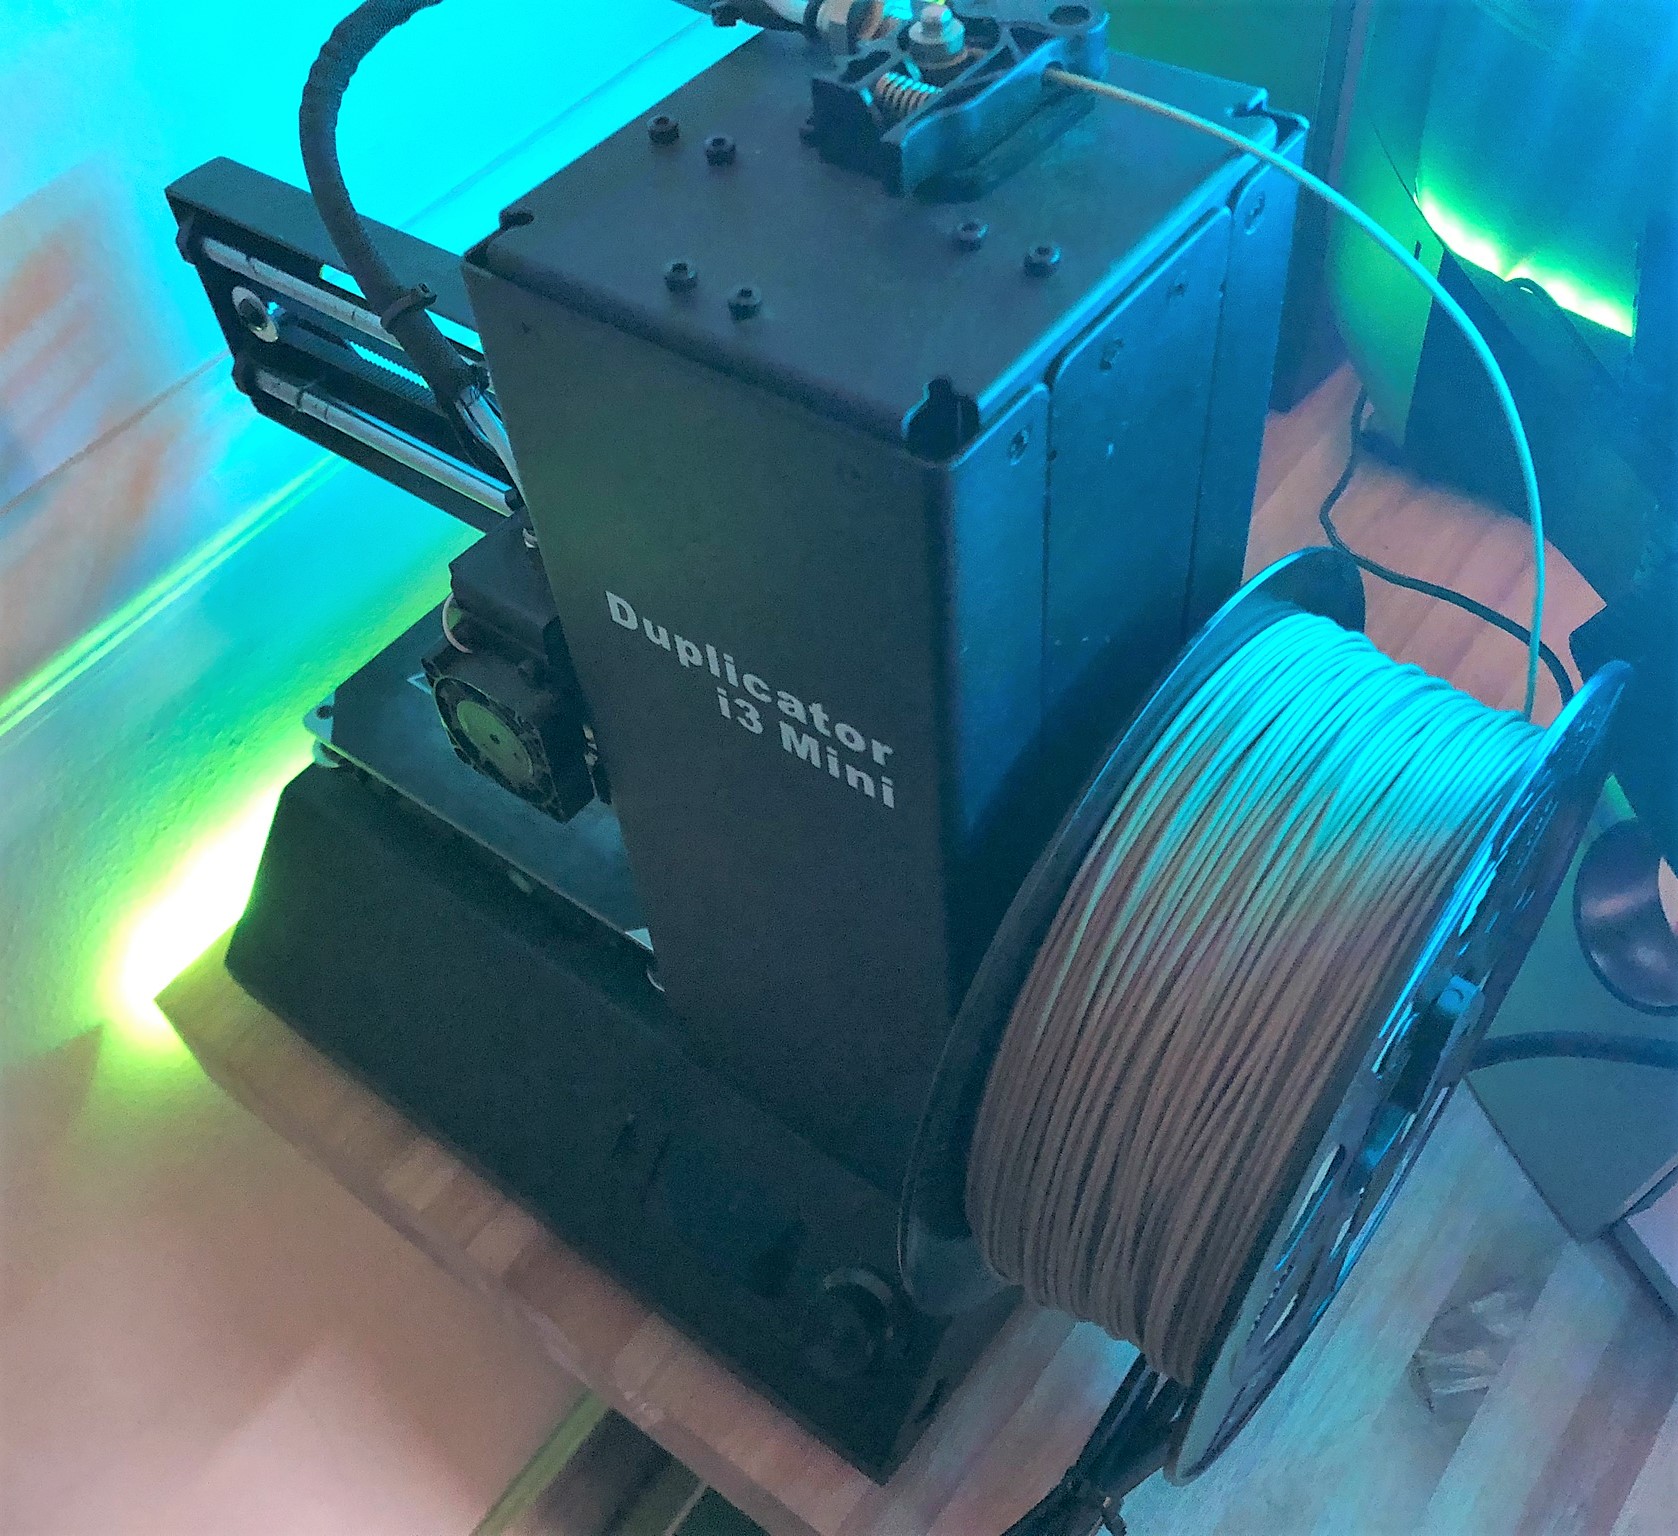
Just note that although the leveler supports any FDM printer, in theory, the gcode required to use the device is only available for a limited set of printers. It is, however, possible to modify the supplied gcode to work with any printer and here is the gcode I have changed to work with my Wanhao i3 Mini (This gcode will work for any printer with the same size print bed like the Monoprice i3 Mini).

To use the Filament Friday Bed Leveler the following four-step process is utilised:

Step 1:

Copy the Filament Friday Bed Leveler gcode file to an SD card and print the file on your 3D printer. This will result in the print head moving to the first corner and waiting for a pre-defined time (as configured in the gcode) before moving to the next corner.

Step 2:

Insert the bed leveler under the print head with the nozzle centred on the cross printed on the top of the device.

Step 3:

Loosen\Tighten the bed levelling screws of the corresponding corner until the LED on the bed leveler barely lights up. (The LED should be dimly lit if the LED  is brightly lit, the nozzle is too close to the bed.)

Step 4:

Repeat steps 2 and 3 for all the corners of the print bed. For the best results, repeat the entire process one additional time.

The Filament Friday Bed Leveler is a great and inexpensive little device that takes the guesswork out of bed levelling, and for the price, you cannot go wrong by adding it to your 3D printing toolset.

3D PRINTING REVIEW – FILAMENT FRIDAY BED LEVELER

2022 3D Printer Upgrades

At the beginning of 2022, I performed various upgrades to my Wanhao i3 Mini 3D printer, mostly related to the hotend, cooling and filament delivery.

I replaced the heat break and the nozzle from a hot end perspective. In addition, I replaced the standard stainless steel heat break with the Yunbotong V6 bi-metal heat break, which is a titanium alloy heat break with a copper plated throat that is E3D V6 compatible. The difference between the two materials (i.e. the titanium alloy and the copper) results in a difference in thermal conductivity, which improves heat dissipation efficiency.


I replaced the standard copper nozzle with a titanium nozzle, which offers higher durability and thus can deliver higher quality prints for longer.

By 3d printing and using the dual fan mount linked here, I was able to add an additional fan and thus double the hot end cooling capacity. Additionally, I replaced the standard inexpensive 24V 40mm fan with two Noctua nf-a4x20 flx fans. The nf-a4x20 flx is a premium quiet fan, with award-winning cooling and acoustic performance. This upgrade significantly improved the cooling of both the hot end and the print area and has dramatically improved print quality.

Lastly, regarding filament delivery, I replaced the standard PTFE Bowden tubing with Capricorn PTFE Bowden tubing. Capricorn PTFE Bowden tubing contains additional high lubricity additives that make it the lowest friction Bowden tubing on the market. This lower friction results in improved responsiveness and less slippage, which results in better print quality.

The upgrades mentioned above have been very successful and have greatly improved the print quality I was able to produce with my 3d printer.

2022 3D Printer Upgrades

3D PRINTING REVIEW – ESUN ESILK PLA FILAMENT

The eSUN eSilk PLA filaments are a range of PLA-based filaments that result in 3D prints that have a silky smooth finish. The eSilk range is available in numerous colors, and the gold color was used for this review.

The eSilk PLA filaments claim to print exactly the same as normal PLA filaments with a recommended print temperature of 190~220℃ and no heated bed required, however, I found the filament softer than normal PLA and more prone to clogging. I found that I got the best and most reliable results printing at 185℃.

The mechanical properties of the eSilk filament were almost identical to normal PLA once printed with good toughness and detail, with the only noticeable difference in the finish which has the appearance of a shiny silky luster, similar to brushed gold.

The eSUN eSilk PLA filaments retail for $24.99 for a 1KG spool and if a silky finish is required the filament checks all the boxes.

3D PRINTING REVIEW – ESUN ESILK PLA FILAMENT

3D PRINTING REVIEW – FILLAMENTUM PLA EXTRAFILL

Fillamentum is a Czech Republic-based company specializing in the manufacturing of high-quality 3D printing filaments. Their PLA filament, which they call PLA Extrafill. The filament is made of natural ingredients and can be biodegraded by industrial composting. PLA Extrafill is also safe for food contact applications.

Fillamentum PLA Extrafill is more expensive than many other companies PLA filaments, costing approximately $26 (USD) for 750 grams of filament compared to approximately $28 (USD) for 1kg of CCTREE filament.

Extrafill is available in diameters of 1.75 mm and 2.85 mm (with a diameter tolerance of +-0.05mm), and in a wide variety of colors, I used “Traffic Black” for this review.

As with all PLA-based filaments, it has a recommended printing temperature of 190-210°C.

I experienced a great deal of difficulty successfully printing this PLA, far more than any other PLA I have used in the past. The PLA Extrafill kept clogging the 3D printer hot end with every single print. I tried various setting profiles in Cura. However, the result was always a clogged hot end. This was the case until I dropped the default retraction distance in CURA by a third, and this rectified the clogging hot end issue and allowed me to complete a few successful prints. However, reducing the retraction distance did result in a great deal of striking, more than any other PLA I have ever used. I did manage to reduce this by changing the travel and retraction speeds and reducing the print temperature to 180°C.

Here are some photos of my attempts to print the 3DBenchy model. They illustrate nicely the difficulties encountered.

As I kept refining the settings, I managed to get better results and eliminated more of the print issues I experienced.

Here are some pictures of a Judge Dredd bust with only slight drooping issues around the helmet.

I also printed a Desk organizer to store my 3D print finishing tools.

I finally managed to refine my setting to the point where I could print miniatures with a great level of detail.

The Above picture shows the miniatures next to a AA battery for scale.

If anyone is interested in the Cure settings used to print these miniatures, you can download my Cura settings profile here. This was configured on Cura 4.8.0.

Fillamentum PLA Extrafill is capable of producing excellent results if you put in the work. However, I do feel that given the difficulties experienced with the filament and the results being no better than other less expensive filaments, for example, eSun PLA+, I find Fillamentum PLA Extrafill extremely difficult to recommend.

3D PRINTING REVIEW – FILLAMENTUM PLA EXTRAFILL

3D PRINT FINISHING

When a 3D print completes printing, it seldom looks like a refined and finished item, from support material that needs to be removed to rough edges that need to be smoothed, quite a bit of work is required to make a 3D print look acceptable.

Here is a quick guide of how I finish my 3D prints to look less like 3D printed items and more like professionally produced commercial products.

Let us first look at the tools I use in the finishing process:

IMG_1747

Wire Cutting Pliers and Long Nose Pliers – These are useful when removing support material from 3D prints.

IMG_1757

Wire Brushes – Perfect for a first pass cleanup on newly printed items to remove any stringing and excess material.

IMG_1754

Needle Files – Useful for smoothing rough spots on prints, especially in small confined areas.

IMG_1761

Craft Knives – To remove any stubborn unwanted material from 3D prints.

IMG_1765

Model Sanding Block – For standing confined areas of 3D prints.

IMG_1770

Heated 3D Print Finishing Tool – Perfect for removing stringing and extra material from 3D prints.

IMG_1782

Sand Paper – Used for general smoothing of 3D prints. It is best to wet sand 3D prints as it prevents the print from melting and getting ruined by the heat created from sanding friction.

IMG_1775

Wood Filler – Used to fill any unwanted gaps and holes in 3D prints.

IMG_1793

Spray Paint Primer – This is used to prime 3D prints for painting. Priming also hides small imperfections on 3D prints. Use a primer that is plastic friendly.

IMG_1779

Model Paint and Brushes – I like Tamiya model paint and brushes, but any model paint supplies should work great.

Now let us look at the finishing process.

Step 1: Select a model and 3D print it.

It is very important to note that the better your 3D printer is maintained and configured, the better the end results will be. Here is an example of the same model 3D printed and finished. The first was printed before I replaced my hot end and did some basic maintenance on my 3D printer (the nozzle was worn, and the heater cartridge started giving issues, I also tightened the belts). The second was printed after I completed the replacement and maintenance.

IMG_1691

The print lines in the first print are clearly visible, even after sanding, while the second model has a smooth finish even with minimal sanding.

Step 2: Remove support material, initial sanding, and filler.

Using wire brushes to do a quick pass over the 3D print to remove any excess material, then sand model using wet sanding method (using sandpaper and water). When sanding the 3D print, start standing with coarse-grit sandpaper (60 grit) and work down to a finer grit (220 grit). Finally, fill any gaps using wood filler.

Step 3: Final Sanding.

When the wood filler has dried, go over the print one final time with very fine grit sandpaper (400 grit).

Step 4: Priming the 3D print

When spraying the 3D print with primer, it is important to hold the spray can at least 30cm away from the 3D print and do long even passes over the model, starting and ending each pass to the side of the 3D print and not directly on the print as it will result in droplets forming.

Step 5: Painting the 3D print

IMG_1601

After the primer has completely dried, it is time to paint the model as desired. Using a wethering technique like black-washing brings out the detail of 3d prints amazingly. Black-washing is done by mixing black (or dark color) paint with some paint thinners, then painting all over the model, putting particular focus on getting the paint into all the nooks and crannies on the print. Then finally wiping away most of the paint with some paper towel. This gives the model a weathered realistic look.

Step 6: Done!

And finally, display your newly created item with pride.

3D PRINT FINISHING

3D PRINTING REVIEW – CCTREE CARBON FIBRE PLA FILAMENT AND 3D PRINTER UPGRADES

IMG_7750

The CCTREE Carbon Fibre PLA filament is a 1.75mm PLA filament infused with Carbon Fibre, resulting in a filament that can produce prints that are much stronger than standard PLA. This filament is thus ideal for high-wear and load-bearing prints.

This higher durability does come at two significant tradeoffs. Firstly CCTREE Carbon Fibre filament costs approximately double what CCTREE standard PLA filament costs. Secondly and probably the largest problem with this filament is that it experiences significant bowing as it cools compared to standard PLA filament.

This bowing can result in prints separating from the print bed, which occurred more than once during my testing, and below is a picture of the consequences of one of these bed adhesion failures.

IMG_8269

I found that the Carbon Fibre filament worked best when printing smaller items as the bowing occurred much less on a small surface area.

Here is a picture of some items I printed using the Carbon Fibre filament to upgrade my Wanhao Duplicator i3 Mini.

IMG_8273

On the left in the image is a filament guide that prevents the filament from grazing against the printer body and ensures smooth filament movement. On the right are bed stabilizers that prevent unwanted bed movements that result from slight shifts in the bed leveling springs.

I also printed a tool caddy using the Carbon Fibre filament, and this was the largest item I printed successfully using the filament. Here are some photos of the tool caddy.

As can be seen in the Wanhao logo on the tool caddy a good level of detail is possible using the CTREE Carbon Fibre filament. Also note that all prints required minimal cleanup, with little to no stringing occurring.

Here are a few pictures of the upgrades installed.

The CCTREE Carbon Fibre PLA filament is a very useful filament for printing functional parts that require a level of robustness not offered by PLA, but it does require more care and tweaking to print successfully. It is an excellent filament, just not one for beginners.

On a side note, I recently installed a silicon sock on my printer’s hot end. This is a simple and inexpensive upgrade that offer numerous benefits such as helping to keep the hot end temperature constant and keeping the hot end clean. It also a safety measure and prevents burns from accidentally touching the hot end. It is definitely a worthwhile upgrade considering the minimal investment required.

IMG_8360

3D PRINTING REVIEW – CCTREE CARBON FIBRE PLA FILAMENT AND 3D PRINTER UPGRADES

3D PRINTING REVIEW – CCTREE METALIFIED COPPER FILAMENT

IMG_7750

CCTREE Metalfied filaments are PLA based filaments blended with high-sheen particles in various metallic colors that result in 3d prints that have a polished metal finish.  It is important to note that this is not a metal-infused filament, such as Bronzefil, which contains the actual metal in question, but rather a PLA filament with a metallic appearance, resulting in a filament that is much easier to print compared to the metal-infused filaments.

The Metalfied filament we will be looking at is the Copper variation.

IMG_8217

I have previously reviewed the normal PLA and Wood CCTree filaments and found them to be of exceptional quality at a very reasonable price, and with the Metalfied Copper filament once again I was not disappointed. The filament prints exactly like normal PLA filaments, and a great level of detail is possible as shown in the photos below:

For reference here are the Cura settings utilized for the prints above:

cura_settings

As can be seen in the photos of the 3d prints a shiny metallic finish is achieved that looks remarkably similar to polished copper. The filament is an absolute breeze to print with and the end results are beautiful.

IMG_8205

I would highly recommend this filament to anyone who is looking for a metallic finish and is not quite ready or willing to undertake the more difficult task of printing with a metal-infused filament.

3D PRINTING REVIEW – CCTREE METALIFIED COPPER FILAMENT

3D PRINTING REVIEW – CCTREE PLA AND WOOD FILAMENT

IMG_7750

CCTREE PLA Filament

The CCTree PLA filament we will be looking at today is the 1.75mm diameter variety, but it is also available in 3mm. The filament is available in a wide variety of colors, around 25 colors, and is sold in 1kg spools.

The experience with this filament has been great, producing very good quality prints with a great level of detail and only minimal 3D printed object cleanup required after printing.

 During printing the filament has minimal stringing, if any at all, and I have never had a print fail because of a filament issue using CCTREE PLA filament.

CCTREE PLA filament is a very easy filament to print with and offers great value being one of the less expensive filaments available. I would highly recommend this filament for novices and experienced 3D print enthusiasts alike.

CCTREE Wood Filament

IMG_7740

CCTREE Wood filament is a 1.75mm diameter filament consisting of a mixture of PLA plastic and wood fibers that produces prints with a slightly rough wood-like finish, similar to Medium Density Fiberboard (MDF), that can be sanded and stained in a similar way to wood.

IMG_7744

This filament is slightly more challenging to print with and is more prone to stringing (due to the wood fibers) and larger flat surfaces are prone to slight bowing as the print cools down.

It is still however possible to produce prints with a great level of detail, it just requires an extra bit of cleanup and finishing.

IMG_7763

During printing, this filament gives off a subtle wood-like odor.

The CCTREE Wood filament is more expensive than their PLA filament, costing approximately double the price.

This filament is great for prints that benefit from a more natural wood-like finish (for example a baby Groot) and the end result looks fantastic. This is a great filament but is probably not the best choice for a 3D printing newbie to get started with.


CCTree filaments offer great quality and value for money, the filaments are available in a wide variety of colors and options and they come highly recommended.

3D PRINTING REVIEW – CCTREE PLA AND WOOD FILAMENT

GETTING STARTED IN 3D PRINTING

Over the last few years various 3D printers have entered the market at significantly lower price points than ever seen before, making 3D printing more accessible to a much larger group of people. One of the companies producing these lower cost 3D printers is Wanhao and I have been using one of their printers, the Wanhao Duplicator i3 Mini, over the last two months.

The Duplicator i3 Mini is a compact PLA optimized 3D printer, weighing just 7kg, with a print volume of 120mmx135mmx100mm. The i3 Mini is extremely easy to get up and running and setup, it comes completely assembled and all the user needs to do to start printing is plug it in and manually level its print bed which takes a few minutes following the included instructions.

The printer ships with an included 1GB SD card with various printable models preloaded on it, so the user can simply insert the SD card and print as soon as the printer is setup. Below are a few photos of one of these models, a little dragon.

The little dragon was printed using CCTree 1.75mm PLA filament.

I use Cura for 3D print slicing, which is the process of converting 3D models into 3D printable formats. Configuring your slicing application correctly for your 3D printer is extremely important and getting this wrong will result in failed prints. Configuring your slicing application involves setting values inside the slicing application that relates to the characteristics of your 3D Printer, for example print volume, nozzle size, filament diameter, print speed and so on. The values for these settings can be found in the printers’ documentation or by simply googling the printer in question and the splicing application that needs to be configured.

Here are some lessons I have learnt so far in 3D printing which might help anyone new to the process:

– Make sure filament diameter is configured correctly, getting this wrong will result in prints failing rather spectacularly.

– Infill is important, but far less is required than most people think, reducing the infill percentage of a print not only reduces the amount of filament used, but also drastically reduces print times.

– When orientating a model for printing in a splicing application, experiment with different orientations and support configurations, sometimes much better results can be achieved with a few minor changes.

– 3D printing is a slow process and takes much longer than most people think.

– Don’t be scared of getting things wrong and having prints fail, it is inevitable and great learnings can be gained from failures.

I will be posting more in the future about my experiences and learnings in 3D printing, but for now I will leave you with a few photos of something else I printed, a USB\SD card holder, which came out great.

GETTING STARTED IN 3D PRINTING